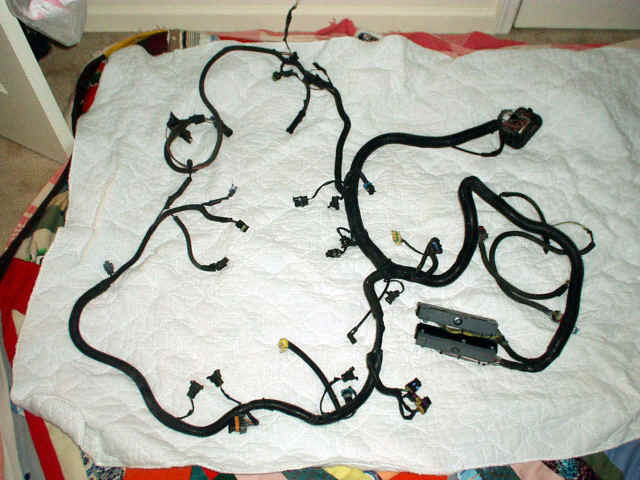
Shown here is the wiring harness for a 1996 Buick Park Avenue Ultra. The PCM connectors on this harness are for an OBD-II type computer, which I will NOT be using because of it's limitations. I will be modifying this harness to work with the 1994/1995 PCM.
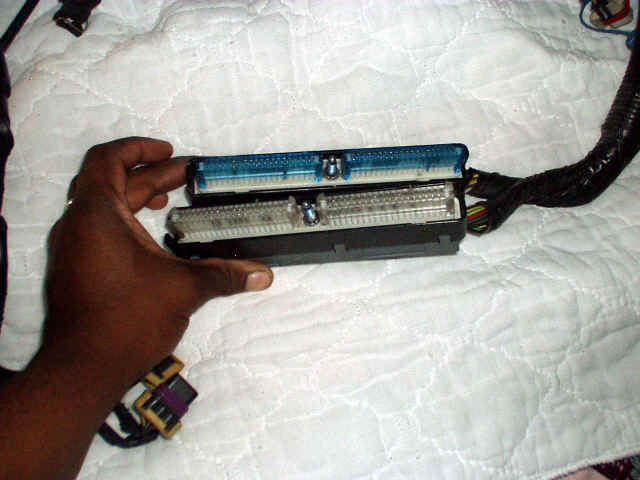
The PCM connectors for the OBD-II are huge
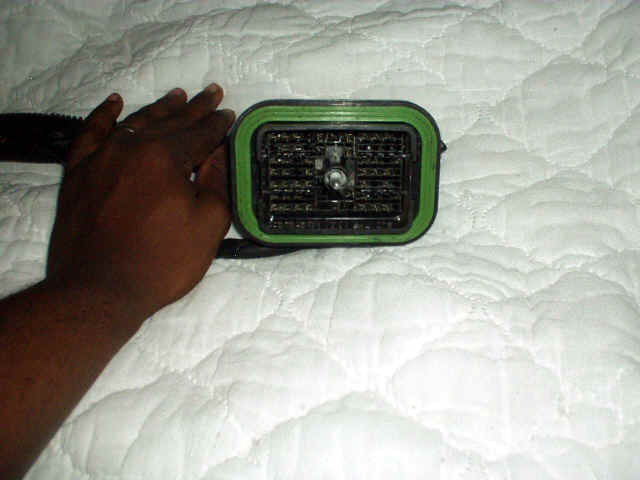
The "C101" bulkhead connector passes fused voltage to and from the engine, as well as signals to various gauges and indicator lamps inside the vehicle. This connector will be cut off and mated to the Citation's interior wiring via solder & heat shrink
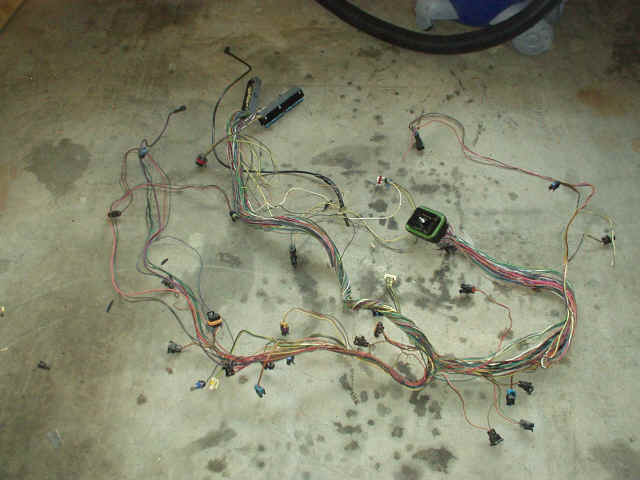
The wiring harness is shown here with the 96' style PCM connectors still attached, but all the OEM electrical tape and loom tubing has been stripped off.
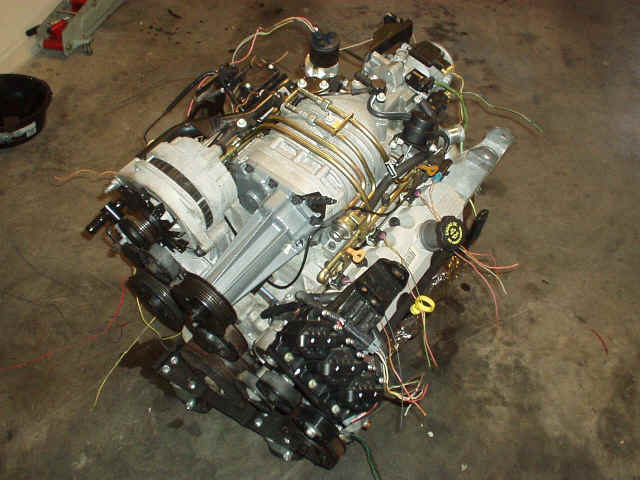
The connectors have been attached to all the powertrain mounted components and the 95' style PCM connectors are about to be soldered on.
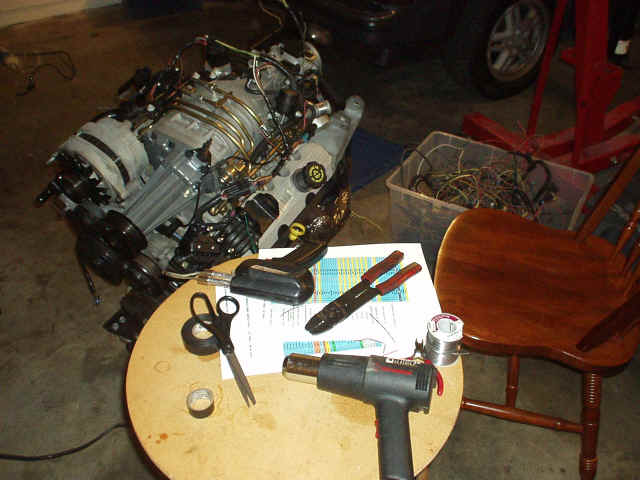
The essential tools. Solder, heat gun, soldering iron, wire strippers and scissors, electrical tape, heat shrink tubing, and my custom wiring diagrams, not to mention a lot of extra wire from junk wiring harnesses.
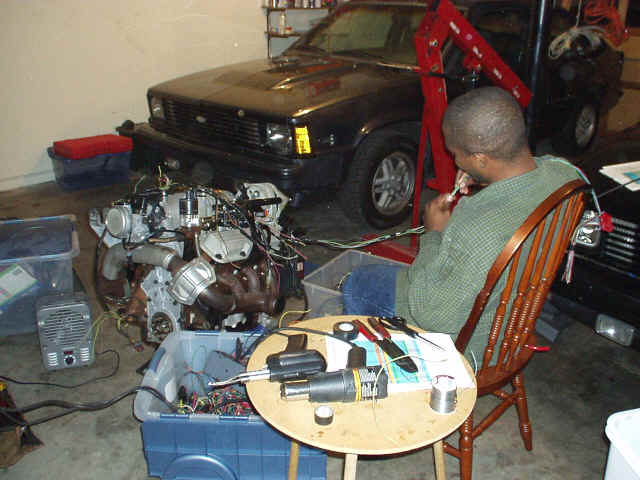
Wife sneaks in a photo while I'm working. 4.9L Port Fuel Injected V8 X-11 in background left side, 3800 Supercharged (Series One) Citation "SS" in background, right side.
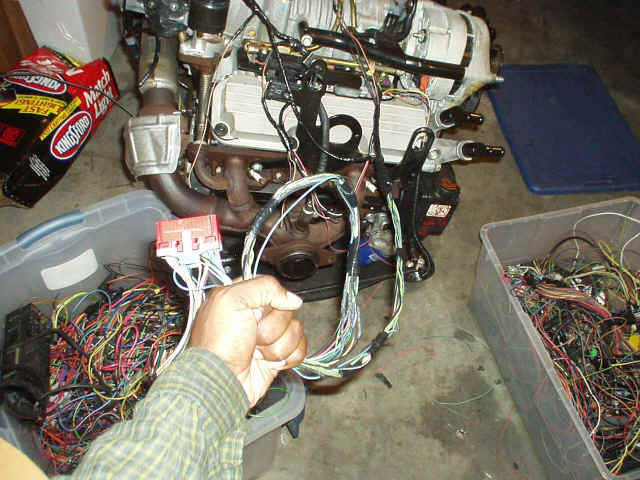
One of Three PCM connectors has been successfully attached and tested, using continuity function on digital multimeter.
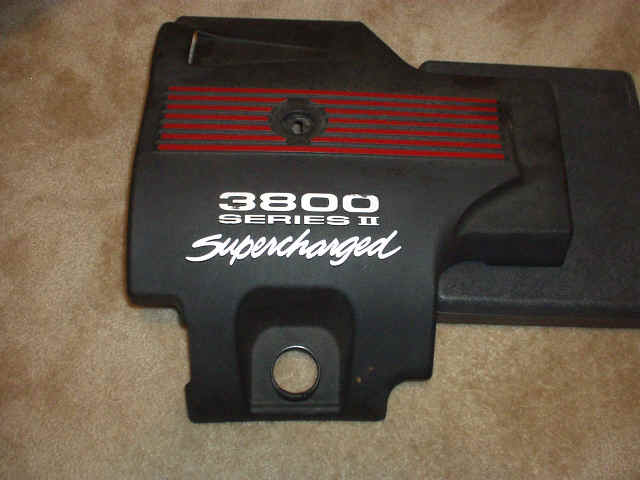
Finally, the Grand Prix GTP version Supercharger Cover arrives today (4-19-2003)
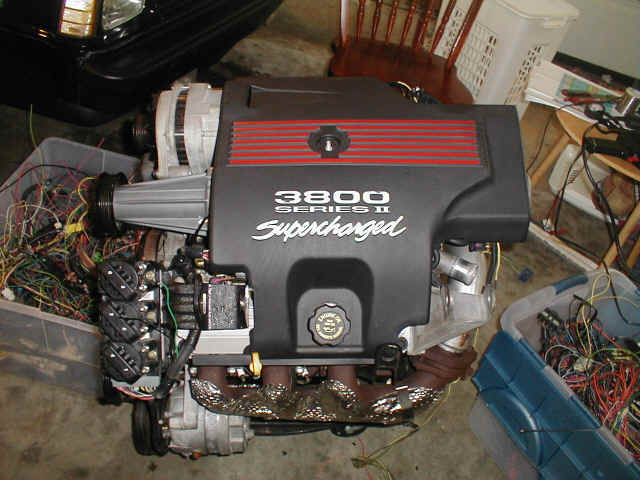
GTP style Supercharger Cover will give a better appearance in a black vehicle than the Park Avenue Style Cover, which was grey in color.
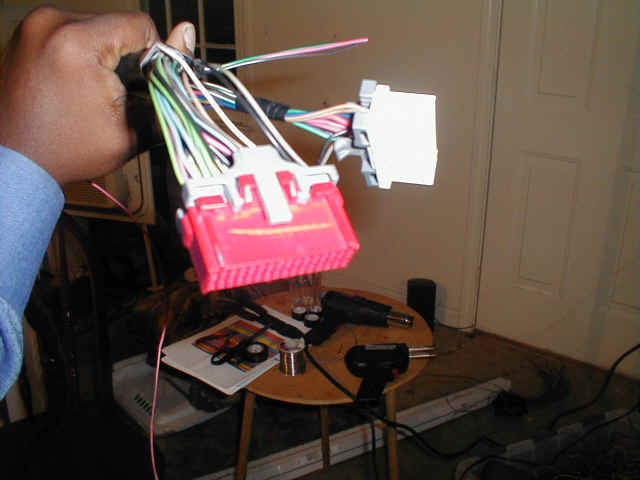
Two of the Three PCM Connectors are done
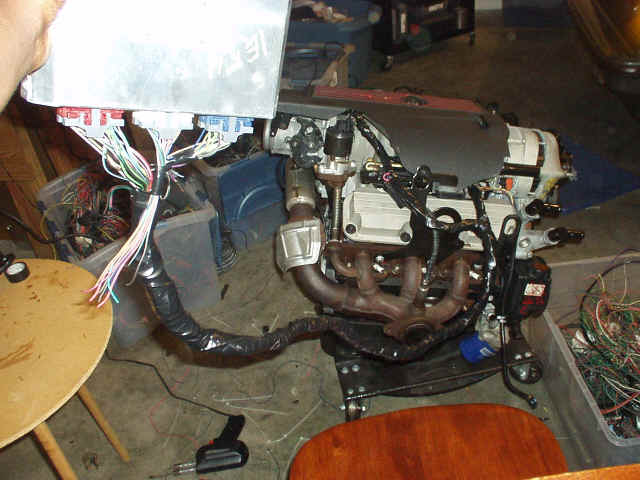
Finally, all three PCM connectors are properly wired to the engine. Total time was about 12 hours.
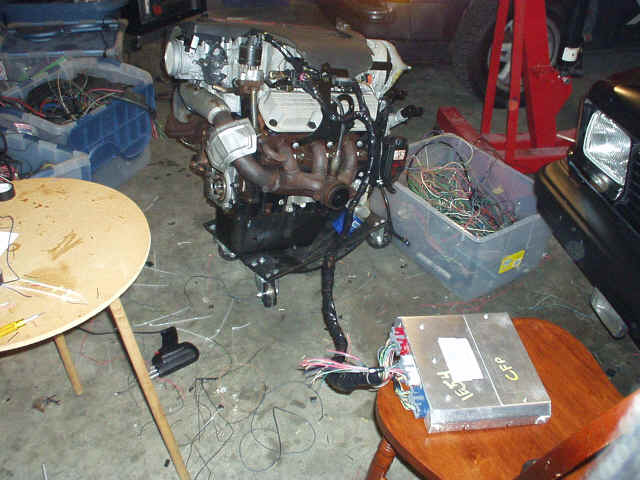
It's always best to leave ample wiring so that the PCM can be easily placed inside the vehicle without strain on the harness
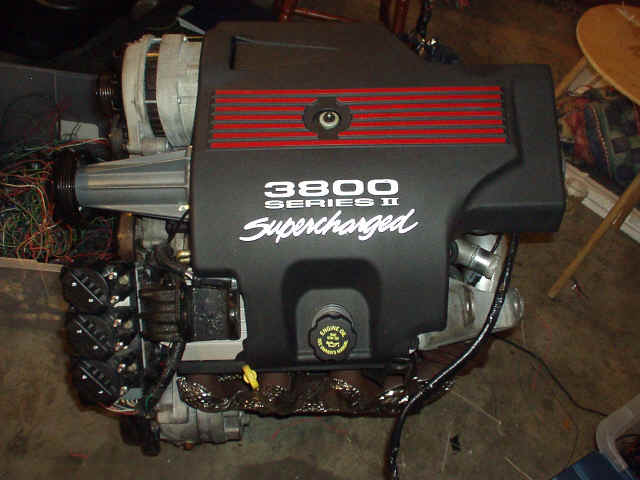
The Supercharger cover also does a nice job of hiding any engine wiring. The wiring harness is completely invisible from the top side of the engine.
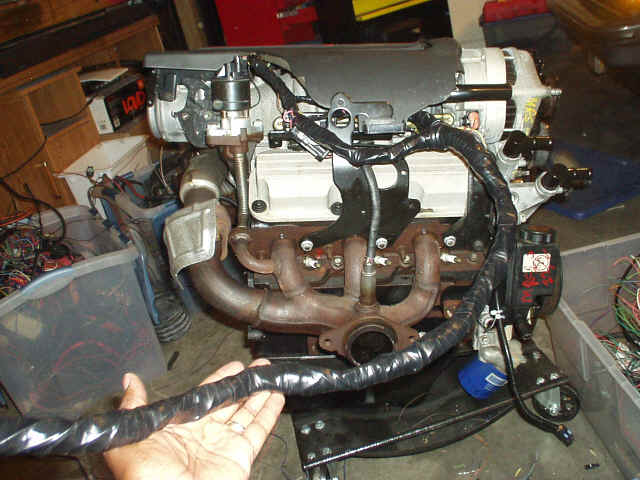
High Temperature Electrical tape finishes off the harness
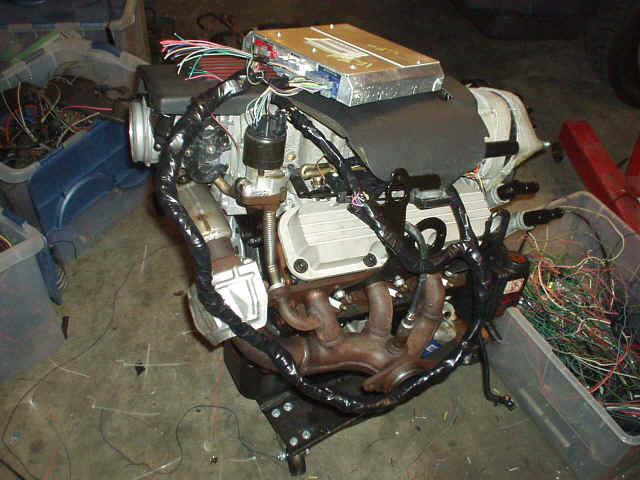
The entire assembly is ready for installation
Click here for PARTS LIST to complete installation